Installing Windows Agent
Install Windows Agent on each Windows PC that will launch a game for Launcher Server. This includes player stations and the PC that will run the game’s server process. Install the game files separately.
Install Agent
Section titled “Install Agent”- Get
NewVrLauncherAgent-<version>-Setup.exefrom your administrator and run it on the gaming PC. - Approve the Windows UAC prompt. If you need administrator credentials, ask the person responsible for the PC.
- Wait for setup to finish. The application installs to
%ProgramFiles%\New VR Launcher\Agent. Settings, local game paths, and logs are stored in%ProgramData%\New VR Launcher\Agent. Setup creates the New VR Launcher Agent shortcut on the shared desktop and configures startup at Windows sign-in.
Start Agent and open Settings
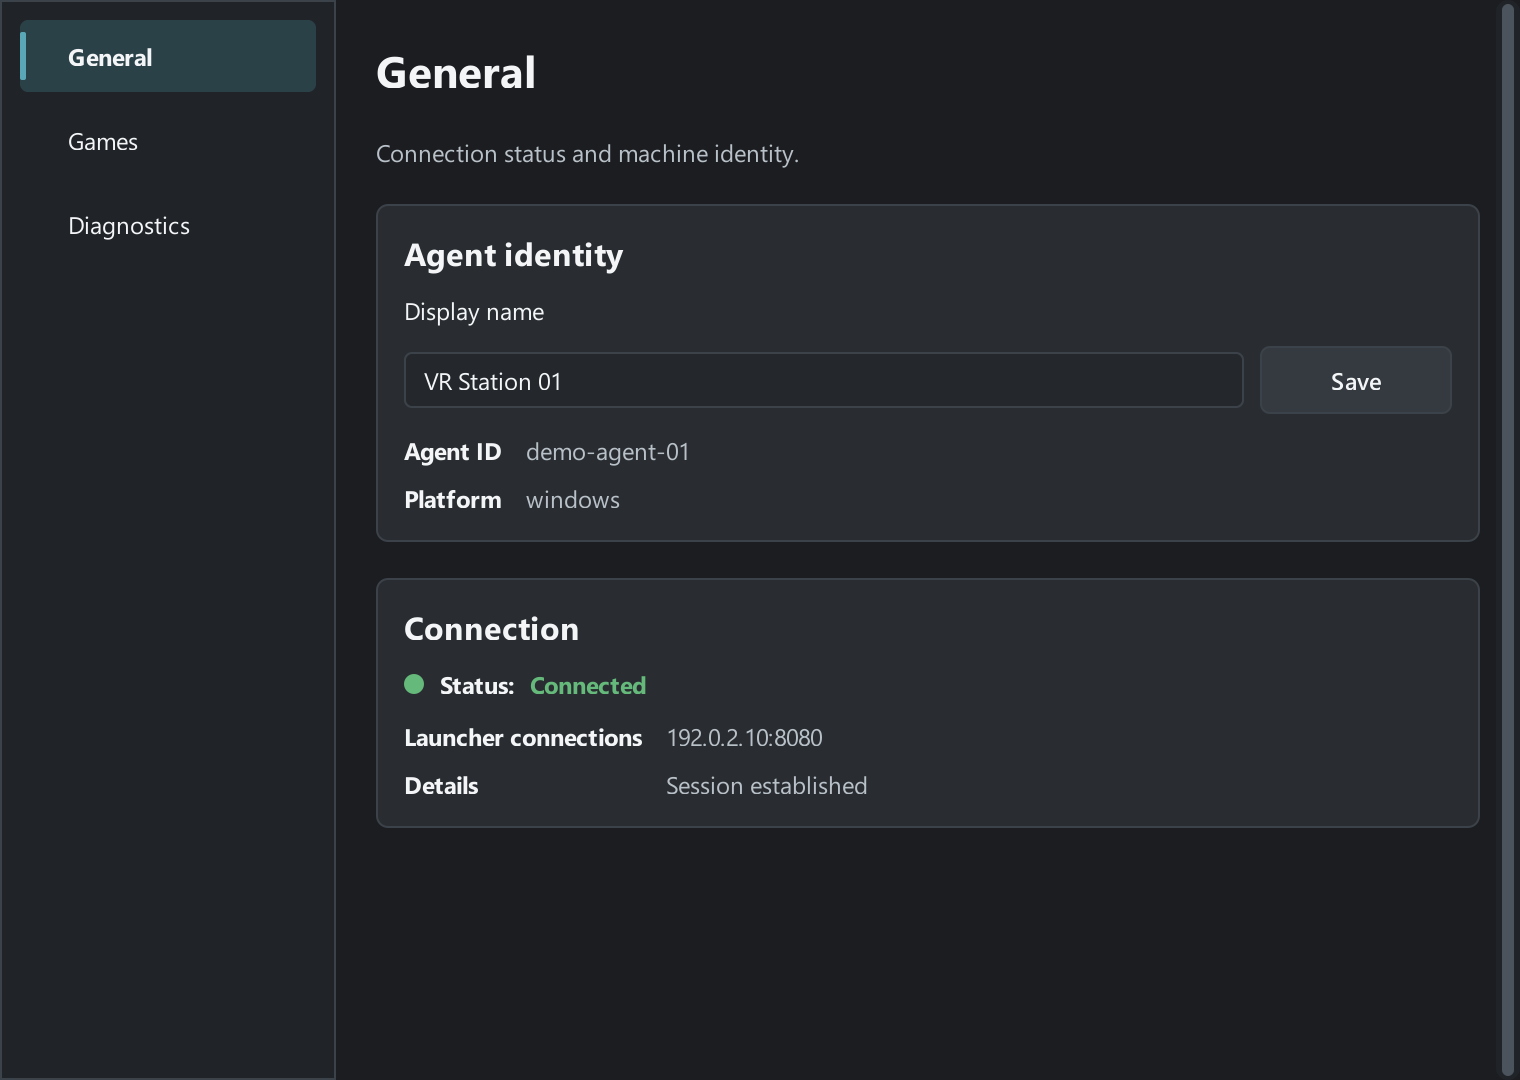
Section titled “Start Agent and open Settings”- After setup exits, open the New VR Launcher Agent shortcut manually. Settings opens. The General tab shows Display name, Agent ID, and the connection status.
- At later Windows sign-ins, Agent can start in the background with an icon in the notification area. Expand the hidden icons if needed. Right-click New VR Launcher Agent and select Open Settings, or double-click the icon.
- Opening the shortcut again under the same Windows account opens the existing Agent window.
When the system tray is available, closing the window hides Settings and Agent keeps running. To exit Agent, wait until the game finishes and select Exit from the tray menu. If the system tray is unavailable, Agent opens Settings even when it starts at sign-in, and closing the window exits the application.
Leave Agent running and continue to Connecting Your First Computer.