Installing Launcher Server
Install Launcher Server on the Windows PC that will manage the club’s game sessions. Choose a PC that will stay on and accessible from the club network during play.
Install Launcher Server
Section titled “Install Launcher Server”- Get
NewVrLauncherServer-<version>-Setup.exefrom your administrator. The filename contains the release version. You need Windows with support for x64 apps and a way to approve an administrator prompt. - Run the installer. Approve the Windows UAC prompt, or ask your administrator to run the installation.
- Wait for setup to finish. The application installs to
%ProgramFiles%\New VR Launcher\Server. Club settings, logs, and other working data are stored separately in%ProgramData%\New VR Launcher\Server. The New VR Launcher Server shortcut appears on the shared desktop.
Start the server and open Launcher Admin
Section titled “Start the server and open Launcher Admin”- After setup, open the New VR Launcher Server shortcut to start it for the first time. A standard operator account can start the installed application.
- Wait for the server to start and open Launcher Admin in your browser. If the tab does not open, enter
http://localhost:8080/on the server PC. If the port has been changed, ask your administrator for the address. - Check the Launcher Server online indicator in the header. Select Agents in the sidebar to see the gaming PCs.
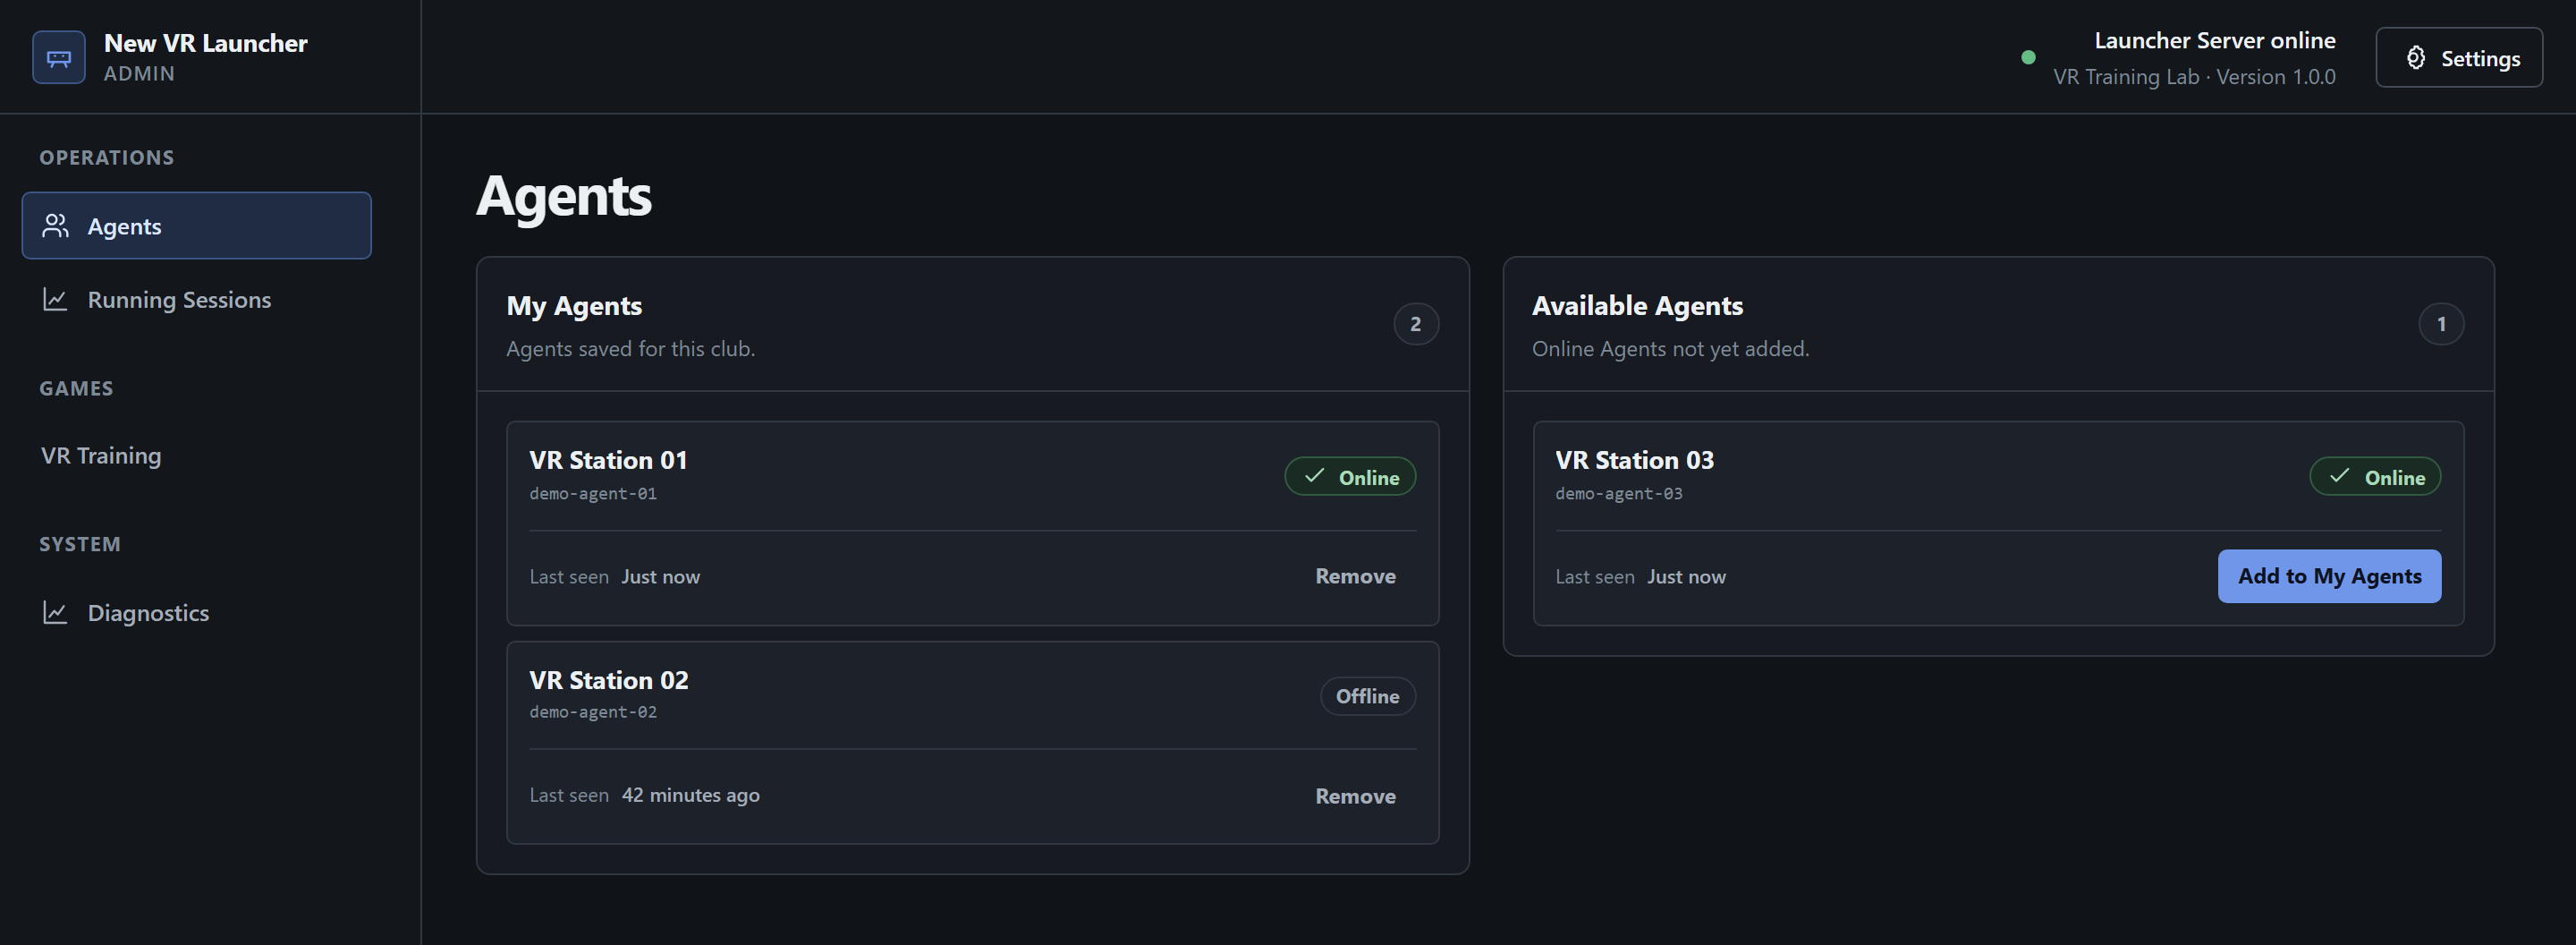
Opening the shortcut again opens Launcher Admin for the server that is already running. You can close the tab and return to the same address later. The server keeps running in the background.
If the address also fails when opened manually on the server PC, check that setup finished and troubleshoot startup. Next, install Windows Agent on the PCs that will take part in sessions.