Launcher Admin overview
Launcher Admin is the venue’s browser-based control panel. Use it to add gaming PCs, set up games, monitor sessions, and maintain Launcher Server. To change a PC’s display name or tell Windows Agent where its games are installed, open Windows Agent on that PC.
Open Launcher Admin
Section titled “Open Launcher Admin”- On the Launcher Server computer, open the New VR Launcher Server desktop shortcut. In a standard installation, the shortcut opens Launcher Admin in your browser.
- If a tab does not open, enter the address yourself. The default on the server computer is
http://localhost:8080/. From another computer on the venue network, use the Launcher Server address and port provided by your administrator. - Look for Launcher Server online in the header. If it says Launcher Server offline, check the address and make sure the intended server is running.
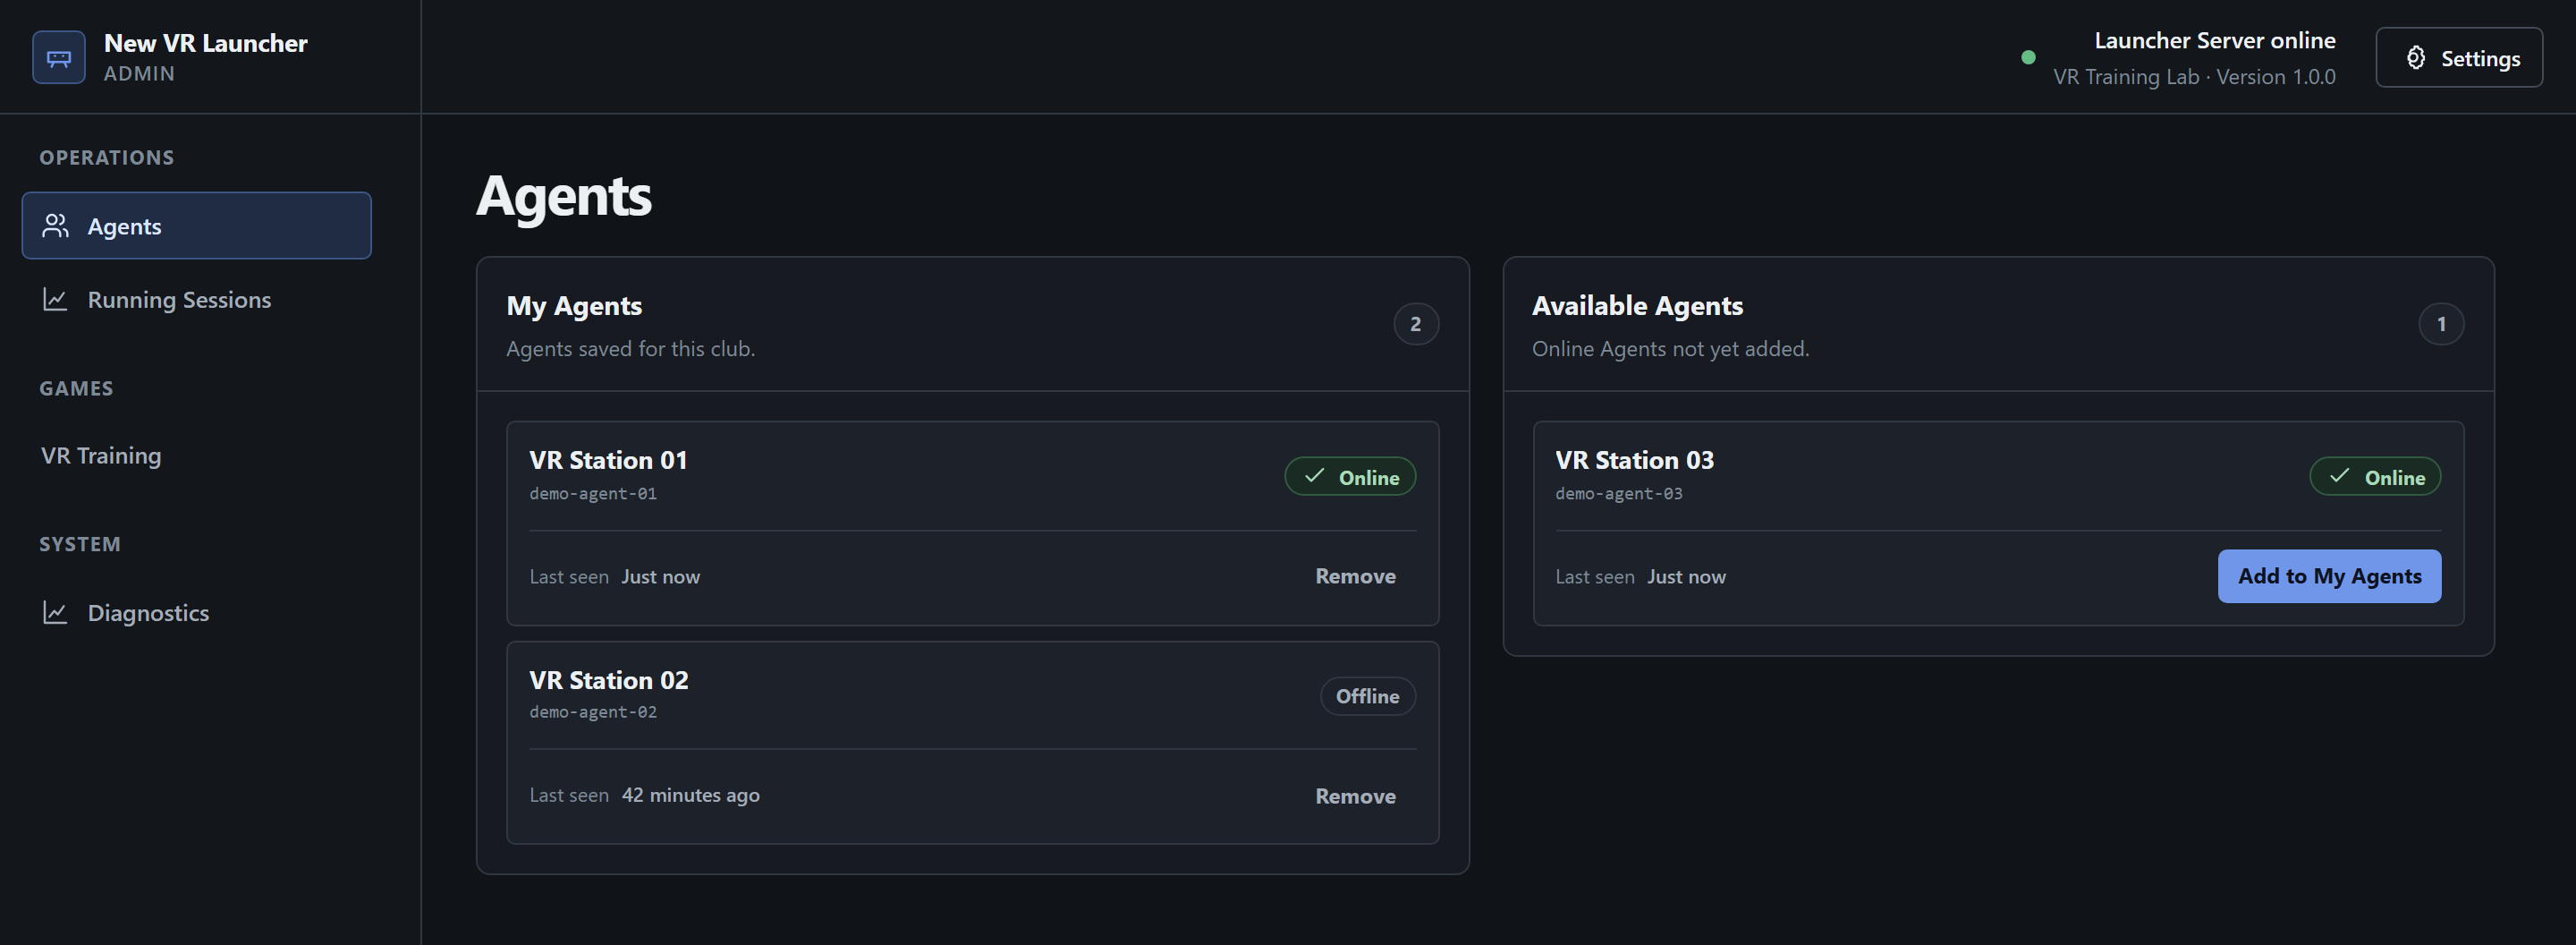
Find the right screen
Section titled “Find the right screen”| Task | Where to go |
|---|---|
| Add a connected PC or see when it last checked in | Agents · Manage My Agents |
| Prepare a token and start a game | The game name under Games · Save and verify a token · Start a session |
| Check which PCs started the game, retry a client launch, or stop a session | Running Sessions · Manage running sessions |
| Refresh the game list or maintain Launcher Server | Settings in the header · Game catalog · Server maintenance |
| Investigate a failure and gather information for support | Diagnostics · Launcher Server diagnostics |
For a normal launch, check the PCs in Agents, then choose a game under Games. Once the start request is sent, follow the participants in Running Sessions. If the panel warns that its data is cached, wait for a fresh result before taking the next action.