Prepare and start a session
Start a game from its page under Games. Prepare the participating PCs in My Agents. They need the game installed, and the token panel should say Game token ready. If the token still needs attention, save and validate it.
Choose participants
Section titled “Choose participants”- Open the game under Games. Launcher Admin starts Windows sessions. The catalog must list Windows support for the game.
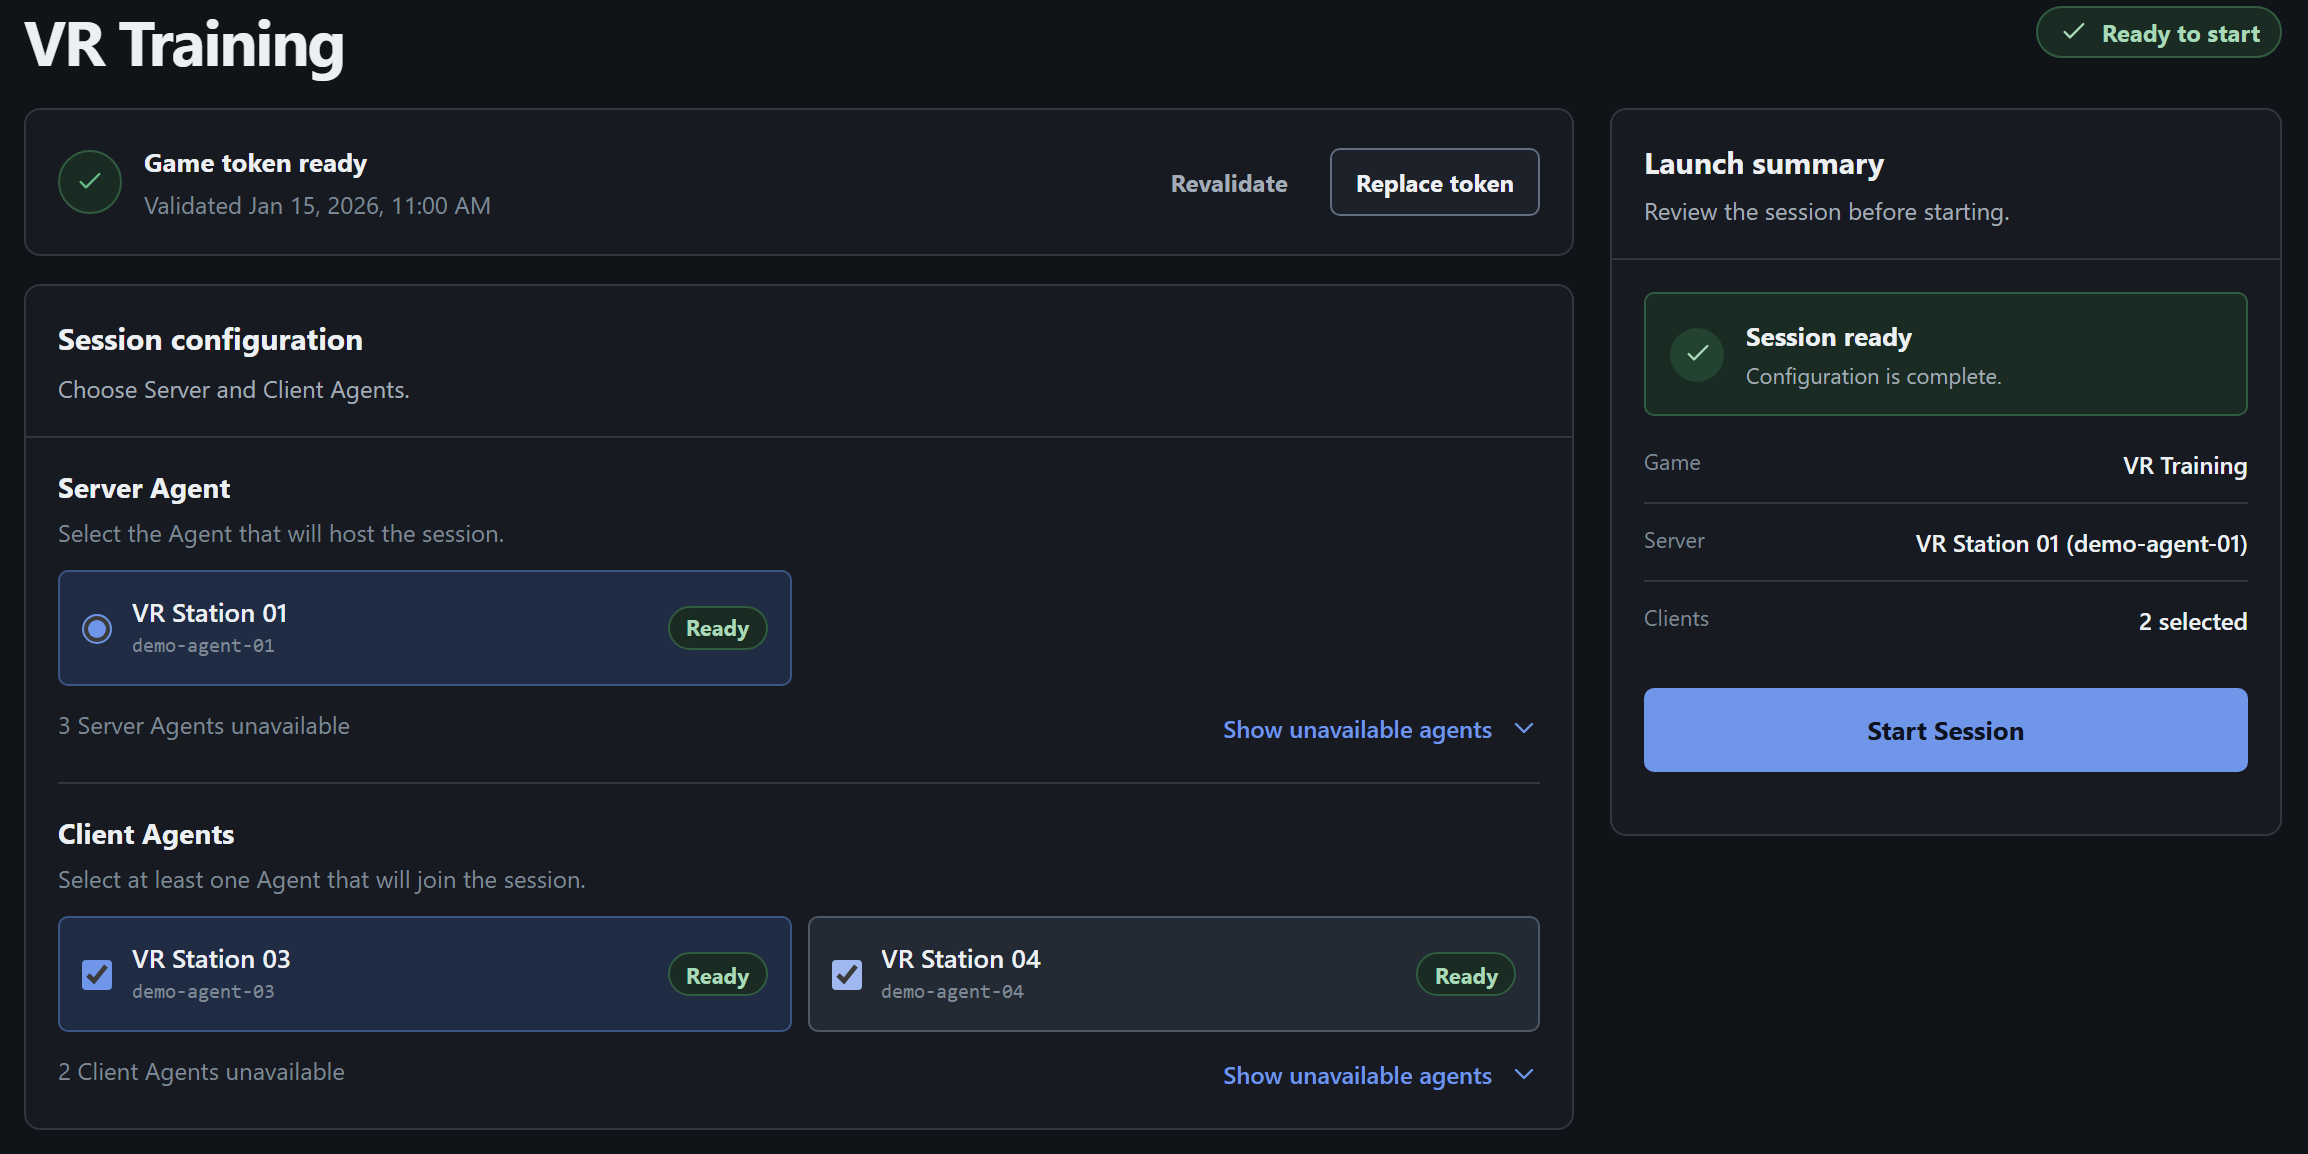
- Under Session configuration, choose the Server Agent that will host the session. Select its card even if it is the only available option.
- Under Client Agents, select the PCs that should join. Select at least one if the game requires clients. The selected Server Agent cannot also be a client in that session.
A PC must be in My Agents, Online, and idle. Check that it has the game installed, supports the selected role, and uses a compatible game catalog. Under either role, choose Show unavailable agents to see why a PC is unavailable.
Review and start
Section titled “Review and start”- In Launch summary, check the game, the Server, and the Clients count. If the panel says Session not ready, work through the issues it lists.
- When it says Session ready, select Start Session. Launcher Server checks the requirements again and dispatches commands to the PCs.
- An accepted request opens Running Sessions. Wait for the card to refresh and check each participant. The session can show Running while some PCs are still waiting. A participant marked Connected has reported a running game process.
If the game does not start
Section titled “If the game does not start”If you see Session could not be started, read the message by Launch summary and check any highlighted PCs. Resolve the issue and try again. If a card already appears in Running Sessions, check its participants first. Some PCs may still be running the game after a partial launch. Match the session to its commands in Diagnostics to investigate.